Portfolio Starter
Building digital experiences for the next generation of creators.
LinkCraft
GeneralThe signature LinkCraft layout with a focused hero and stacked links.
Your page is a template (structure) wearing a theme (style), filled in with widgets (your content). This guide shows how they fit together and the fastest path from draft to publish.

Templates are layout blueprints made of widgets. They come in two families — stacked (vertical sections) and grid (12-column tiles) — and choose a hero mode: card, band, or minimal. Pick the one that matches how you want people to scan your page.
A template is the structure of your page. It decides which widgets appear and in what order. Each widget is a self-contained unit — your identity card, your link list, a testimonial carousel, a media gallery — that plugs into the template.
Templates come in two families — stacked (vertical sections) and grid (12-column tiles) — and pick a hero style: card, band, or minimal.
Building digital experiences for the next generation of creators.
The signature LinkCraft layout with a focused hero and stacked links.
@alexrivers
Building digital experiences for the next generation of creators.
An immersive media-first layout with a tall cover image and soft fade.


Painter sharing originals, process, and exhibition notes from my studio.
Current collection
Acrylic studies exploring memory and movement. Originals and signed prints available.
Gallery-first grid for painters, commissions, and exhibits.

Fashion storyteller sharing seasonal edits, style kits, and studio drops.
This season
Monochrome layers, oversized tailoring, and bold accessories. Explore weekly edits, outfit breakdowns, and curated shopping picks.
Editorial grid for fashion lovers, lookbooks, and style notes.
Weekly conversations on ideas, craft, and modern work.

Featured
Episode-first stacked layout for podcasters and audio storytellers.
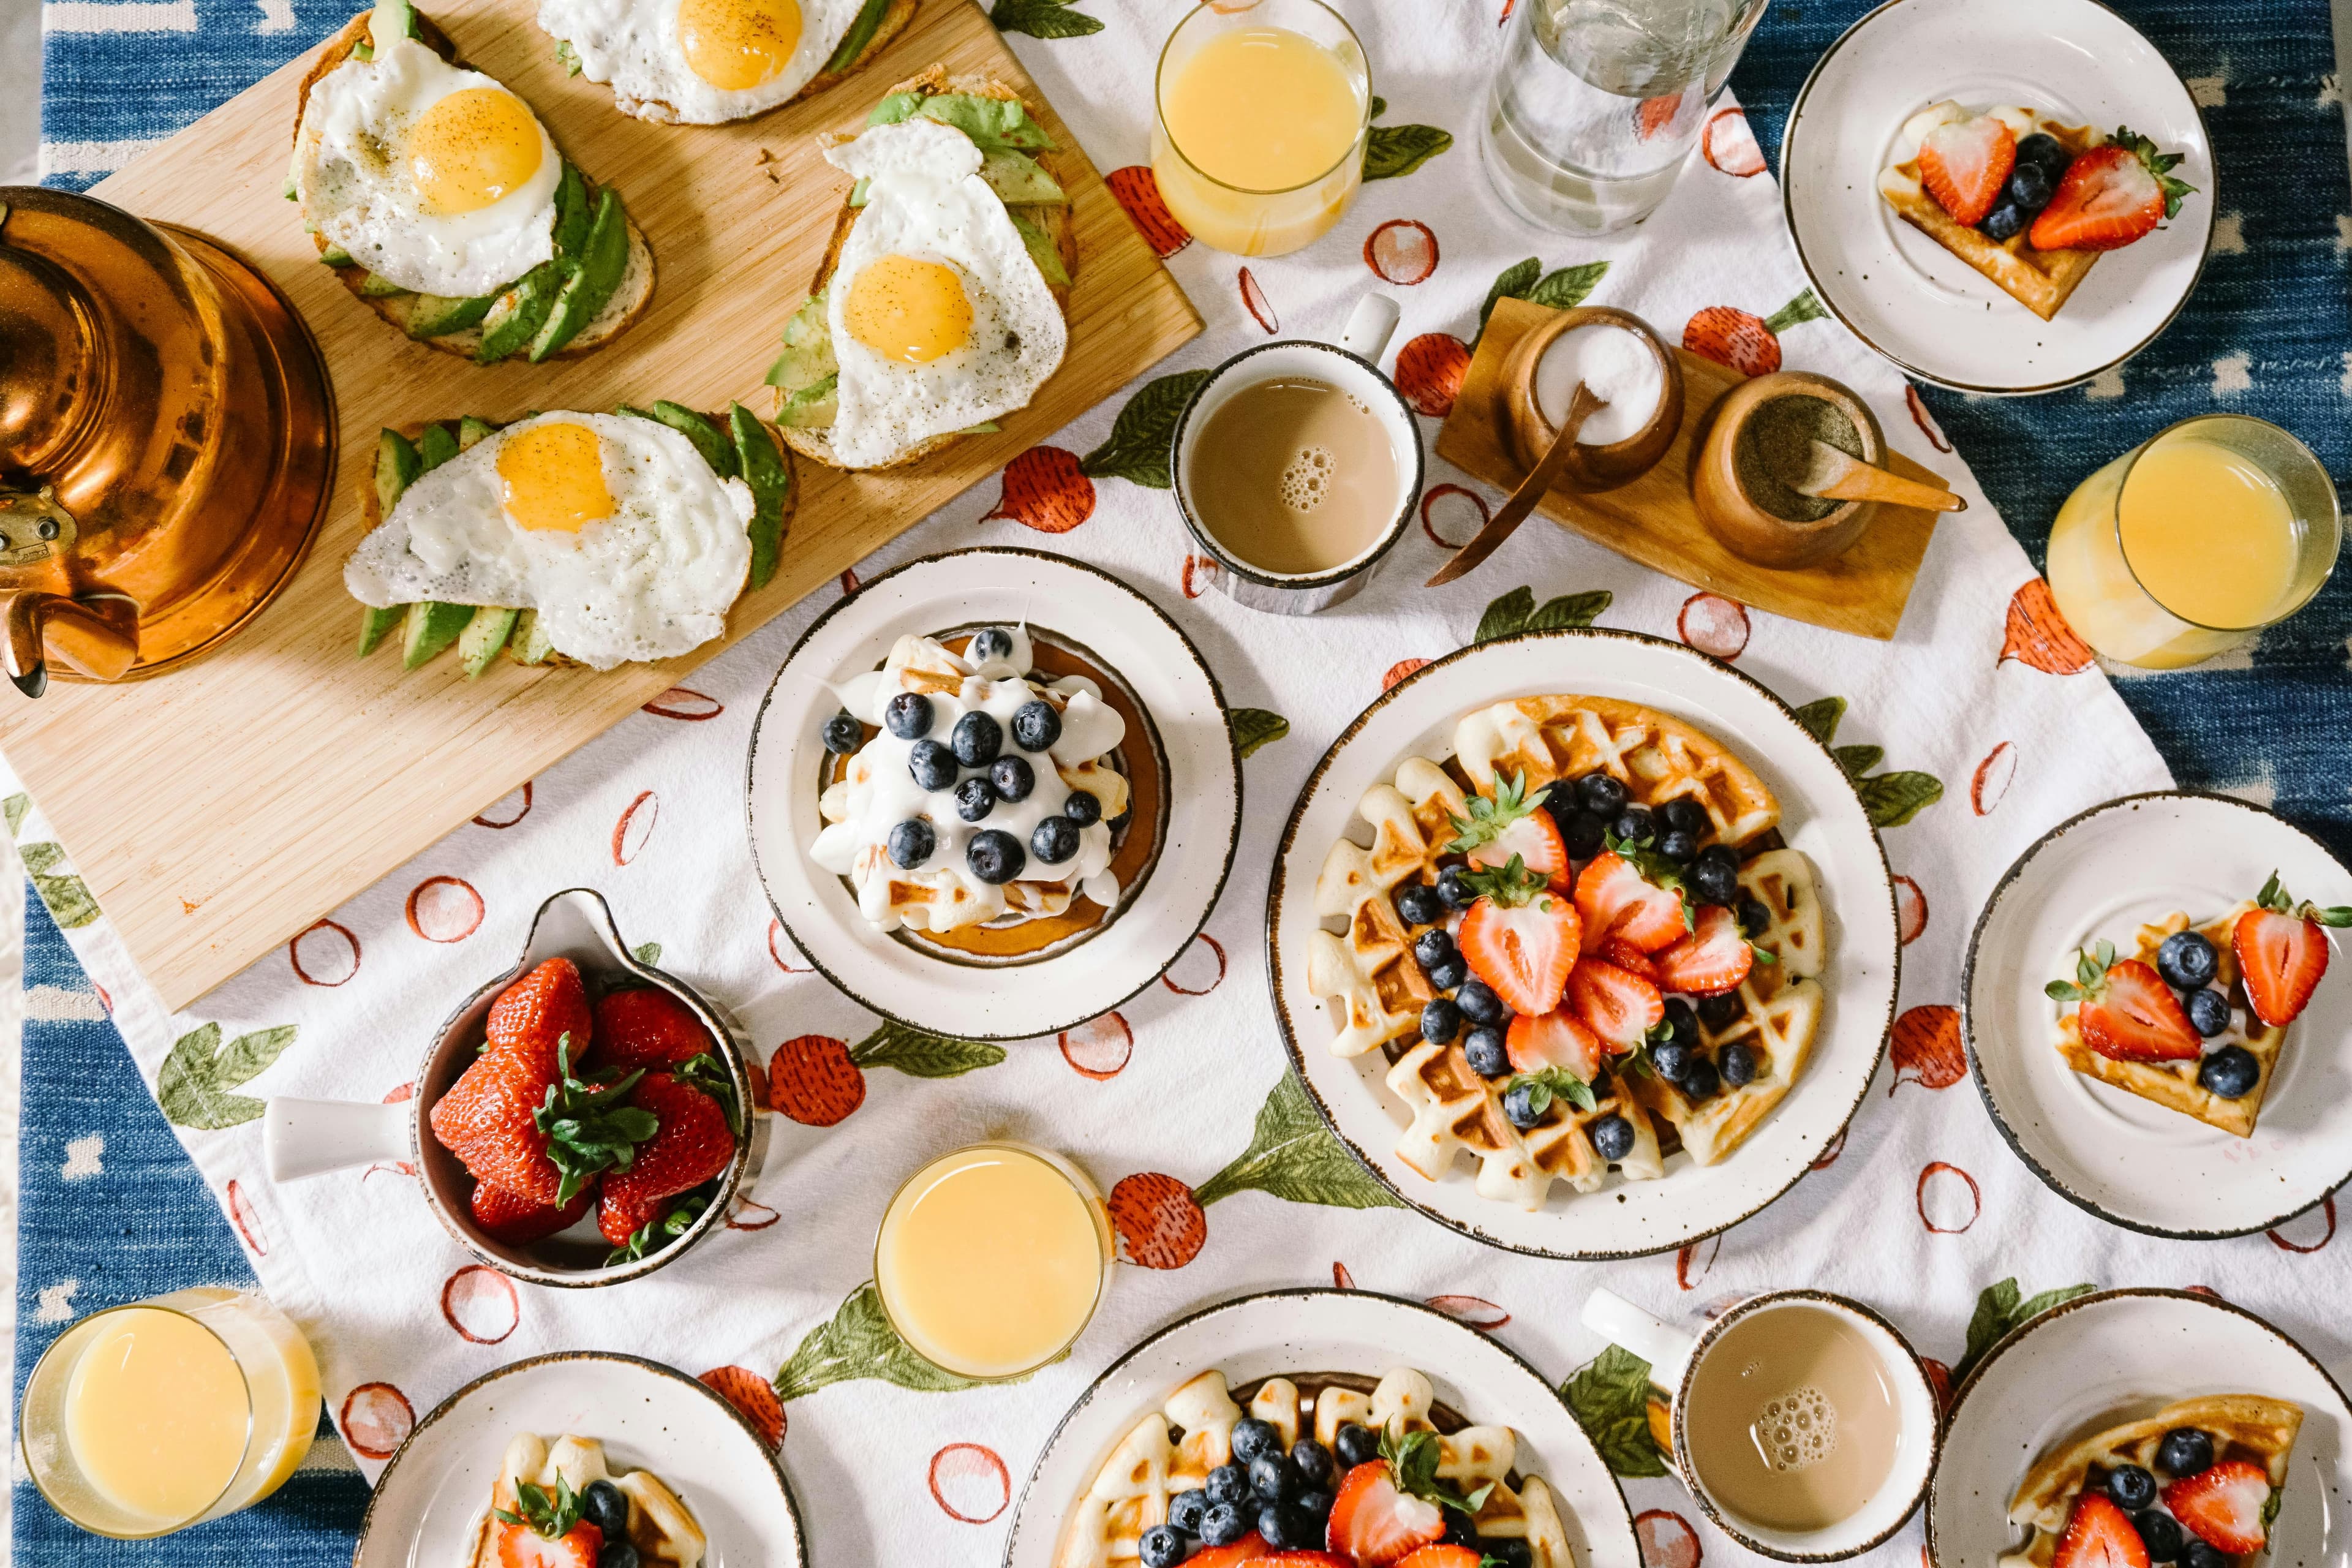
Quick comfort recipes, weeknight meal prep, and kitchen vlogs every week.
Today's signature
High-protein chili garlic noodles with charred veggies. Full recipe and shopping list in the links below.
Featured
Recipe-first grid for food vloggers and kitchen creators.
Themes restyle the same template across four independent dimensions — palette, background, font pair, and button surface — plus a light or dark mode. Mix and match freely; every preset is built from these tokens.
Surface, accent, and content colors — plus light or dark mode.
Flat, gradient, or image — applied to the page or just the hero.
A curated heading + body pairing sets the brand personality.
Bold Headline
Friendly supporting text
Radius, fill, and shadow — pick the button style that matches the mood.

Think of templates as the skeleton and themes as the skin. Keep the structure that converts for your goal, then explore style variations.
Template
Block order and hierarchy
Theme
Color, typography, and shape
Final page
Consistent structure with your vibe
Every template ships with a sensible set of widgets, and you can add more from the widget picker in the editor. Each widget has a role; mix them to match your goal.
Identity
Your avatar, display name, and bio — the first thing visitors see.
Links
Your call-to-action list. Group by section, mark one as featured.
Social
Compact row of social icons for quick follows.
Text
A headline or paragraph — perfect for context or announcements.
Media
Images, video, or a gallery to show your work.
Testimonial
Social proof from clients, customers, or collaborators.
Payment
A single payment link for tips, checkout, or booking a service.
Calendar · Event · Product
Specialized widgets for booking, events, and storefronts.
How the widget picker works
The picker shows you how many of each widget you can add on your plan (for example, 3 of 5 Link widgets used) and whether a widget fits the current template — a great fit renders natively, compatible still works, and degraded means the template will stack it in a simpler way. Switching templates reconciles your widgets automatically: matching widgets move to the new layout, and anything that doesn't fit is preserved as an add-on.
Use this simple sequence to get from zero to publish in minutes.
Pick the layout that matches your use case: creator profile, selling, coaching, or restaurant links.
Start with professional/minimal/fun/festive options and preview quickly.
Edit your identity, links, social icons, testimonials, text, and media. Add new widgets from the picker within your plan limits.

Use the live phone preview to check every widget, then publish to snapshot your draft to your public profile at /your-username.
Use the suggested theme first
Every template includes a suggested starting theme that usually fits out of the box.
Test dark and light variants
Keep the same structure and compare readability before finalizing.
Keep link labels action-oriented
Clear CTA labels improve conversions regardless of theme.
Switch templates fearlessly
Your widgets and content are reconciled into the new template automatically — try a few and keep what looks best.
Choose your template, apply a theme, and launch with confidence.
Create Your Page